Showing posts with label front yard. Show all posts

Sunday, April 19, 2015

Irises in Bloom

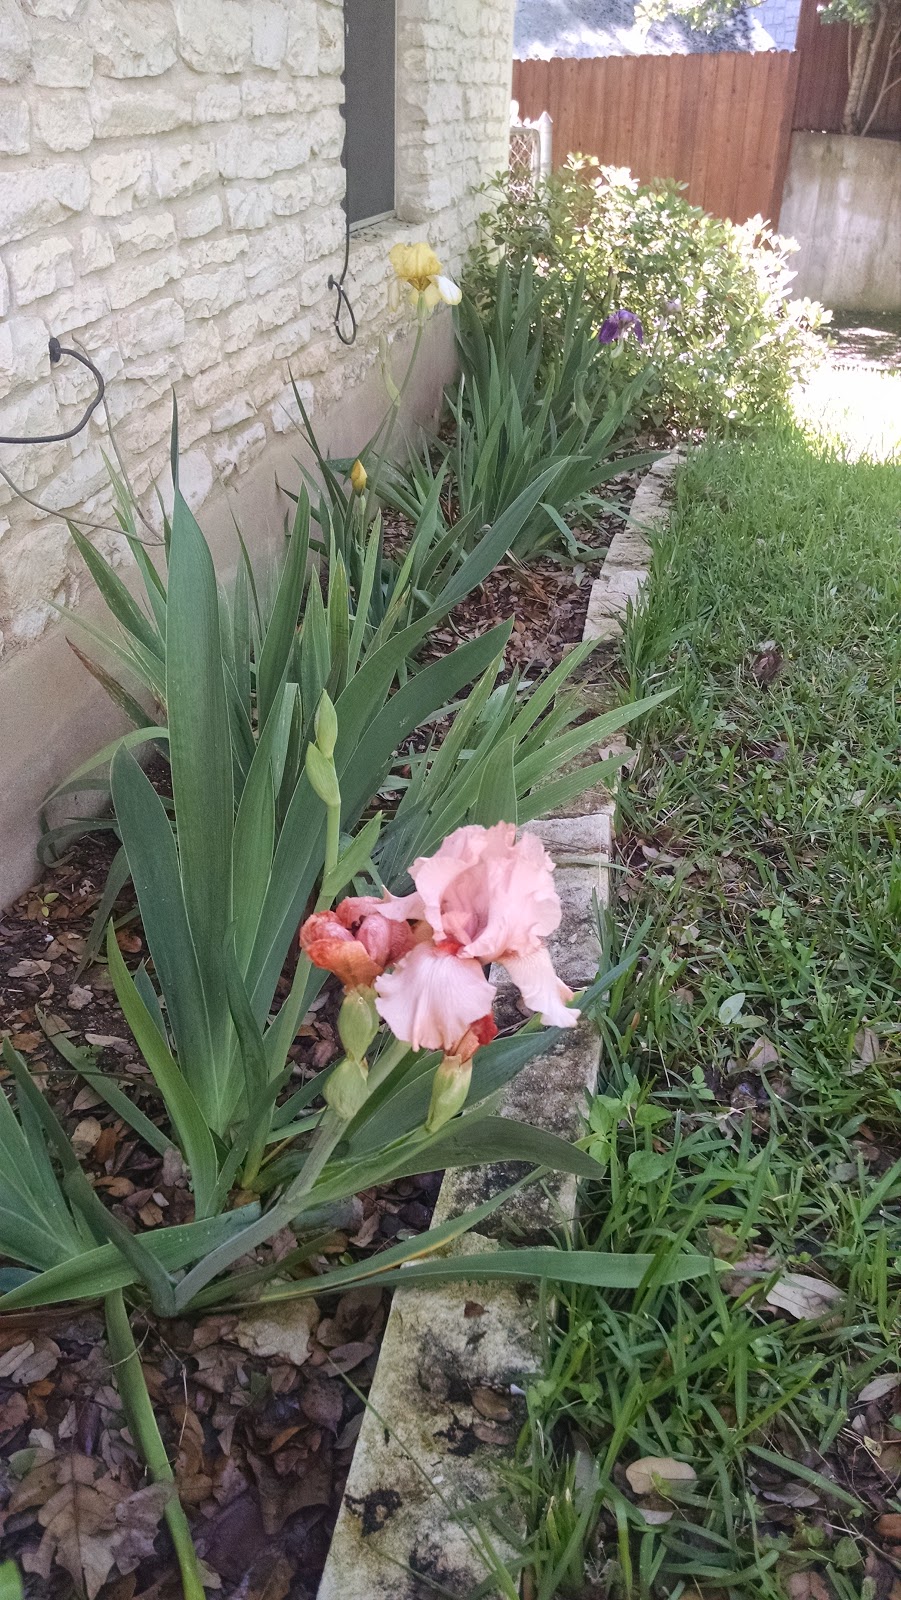
The front yard irises have been very happy this year! Three of them decided to bloom all at once in the middle of April! At this rate we will be splitting them next year <3


Friday, January 10, 2014

2014 Home Goals, Part 3

I have had a running list for some time now but I thought it would be nice to add it to the blog along with some links to a few things that we've already done! I think I will make it a tradition to update this list at the beginning of each year. The Etc. sections just include all the things I would like to do at some point but that likely won't happen this year. This post includes the outdoor areas, including the garage.

Garage:
Completed:
  • Add SO MUCH SHELVING
  • Add a (painted!) peg board or similar system with hooks for large tools & power equipment
  • Replace the garage door opener
  • Remove the extension cord powering the opener & instead replace with an outlet using the same power source as the lights
2014 To-Do:
  • Add a clothes rod or clotheslines for drying things
  • Hang the bikes
  • Always add more storage
Etc.:
  • Close off the laundry/storage area with a wall so it's more like a room and less like the garage
  • Get stacking laundry machines to save space
  • Get a tank-less water heater

Front Yard/Outside of the House:
Completed:
2014 To-Do:
  • Add more flower beds & various xeriscaped areas
  • Replace the leaning, beat-up mailbox
  • Replace the privacy fence & gate that are falling over
Etc.:
  • Add a paved driveway extension to the left of the driveway & continuing to the backyard for the boat and/or additional parking
  • Paint the garage door
  • Paint the brown trim
  • Paint the house siding, maybe light green

Back Yard:
Completed:
2014 To-Do:
  • Hang string lights EVERYWHERE
  • Fill the super-old brick grill pit with flowers
  • Build a raised vegetable bed
  • Start a compost pile
  • Replace the old non-weatherproof shed with one that is weatherproof and put it in a different part of the property
  • Add a seating area on the concrete pad where the shed currently is
Etc.:
  • Add a non-privacy fence across the entire back part of the property along the creek (this will be about 240 feet of fence!!!)
  • Remove the chain-link fence in the middle of the property
  • Get a large patio dining set (seating for 8+) maybe with an umbrella
  • Get chaise lounge chairs for the pool area
  • Remove the peeling "greige" paint from the deck
  • Repaint or re-stain the deck
  • Add a terraced garden on the slope
  • Add a pergola somewhere
  • Add a retractable awning over the pool side of the deck
  • Start rainwater collection?
  • Landscape everything!!

Wednesday, June 26, 2013

Can't Hug Every Plant

I've gotten some kind of plant fever lately, and I mean that in a good way. I can't stop planting things! We finally ventured over to The Natural Gardener this past weekend while my mom was in town, and I got two of the plants I've been pining for practically since I moved to Austin and a couple others that I didn't know I wanted until I saw them.

Nick picked this one out, and it is so awesome! It's marked as a Century Plant, or agave americana, but it's so much spikier and more dangerous than any agave I've seen before! It's probably a safety hazard, and it's awesome.
This one I fell in love with immediately because it looks a little like a hydrangea, which has somehow become one of my favorite flowers despite never owning one, but unlike a hydrangea it's native to the area! It's an Imperial Deep Blue plumbago ariculata and it's been blooming like crazy since we planted it.
This guy you've seen before, but he has quadrupled in size since we first got him back in April! He needed a bigger pot so he gets to come up front with the other big succulents :)
Now for the most exciting part! We are calling this phase three (I think) of our front yard landscaping masterpiece. Phase one was putting up some hanging plants in the tree out front. Phase two was planting irises in the flower beds along the front of the house. Phase four is already planned out and will be adding a rock border to this area so it looks a little more finished and "landscaped" if you will. Since all of our in-ground plants are relatively young, we have added some potted plants between them to fill in the spaces. All of these can get up to eight feet wide, so we wanted to plant them with space to grow into. I won't tell you how much Nick, my mom, and I sweated to dig holes big enough for these... the ground here is basically solid rock. Thanks mom! This was my first time ever putting mulch down for anything. Who knew something as simple as mulch could make someone so happy?

The fern-like plant in the front is one of the ones I've had my heart set on forever. It's a Pride of Barbados and though I don't think it will bloom this year since the rest in the neighborhood are blooming like crazy and it doesn't even have buds, I am very excited for it next year.
The other shrub I've been wanting forever is the Yellow Bells Esperanza, the yellow one in the middle here. We have some in the neighborhood that are about seven feet tall! I'm absurdly excited for how big and bold it will be in a few years. Looking at these photos I'm a little concerned that we planted them too close to the walkway, but they really don't look this close in person.
We added this Variegated Heart Leaf Iceplant to our hanging plant collection out front as well. I've never seen anything like it before and I'm in love with it and its delicate little flowers! Bonus: it's a succulent! Everyone knows I'm a sucker for a pretty succulent.
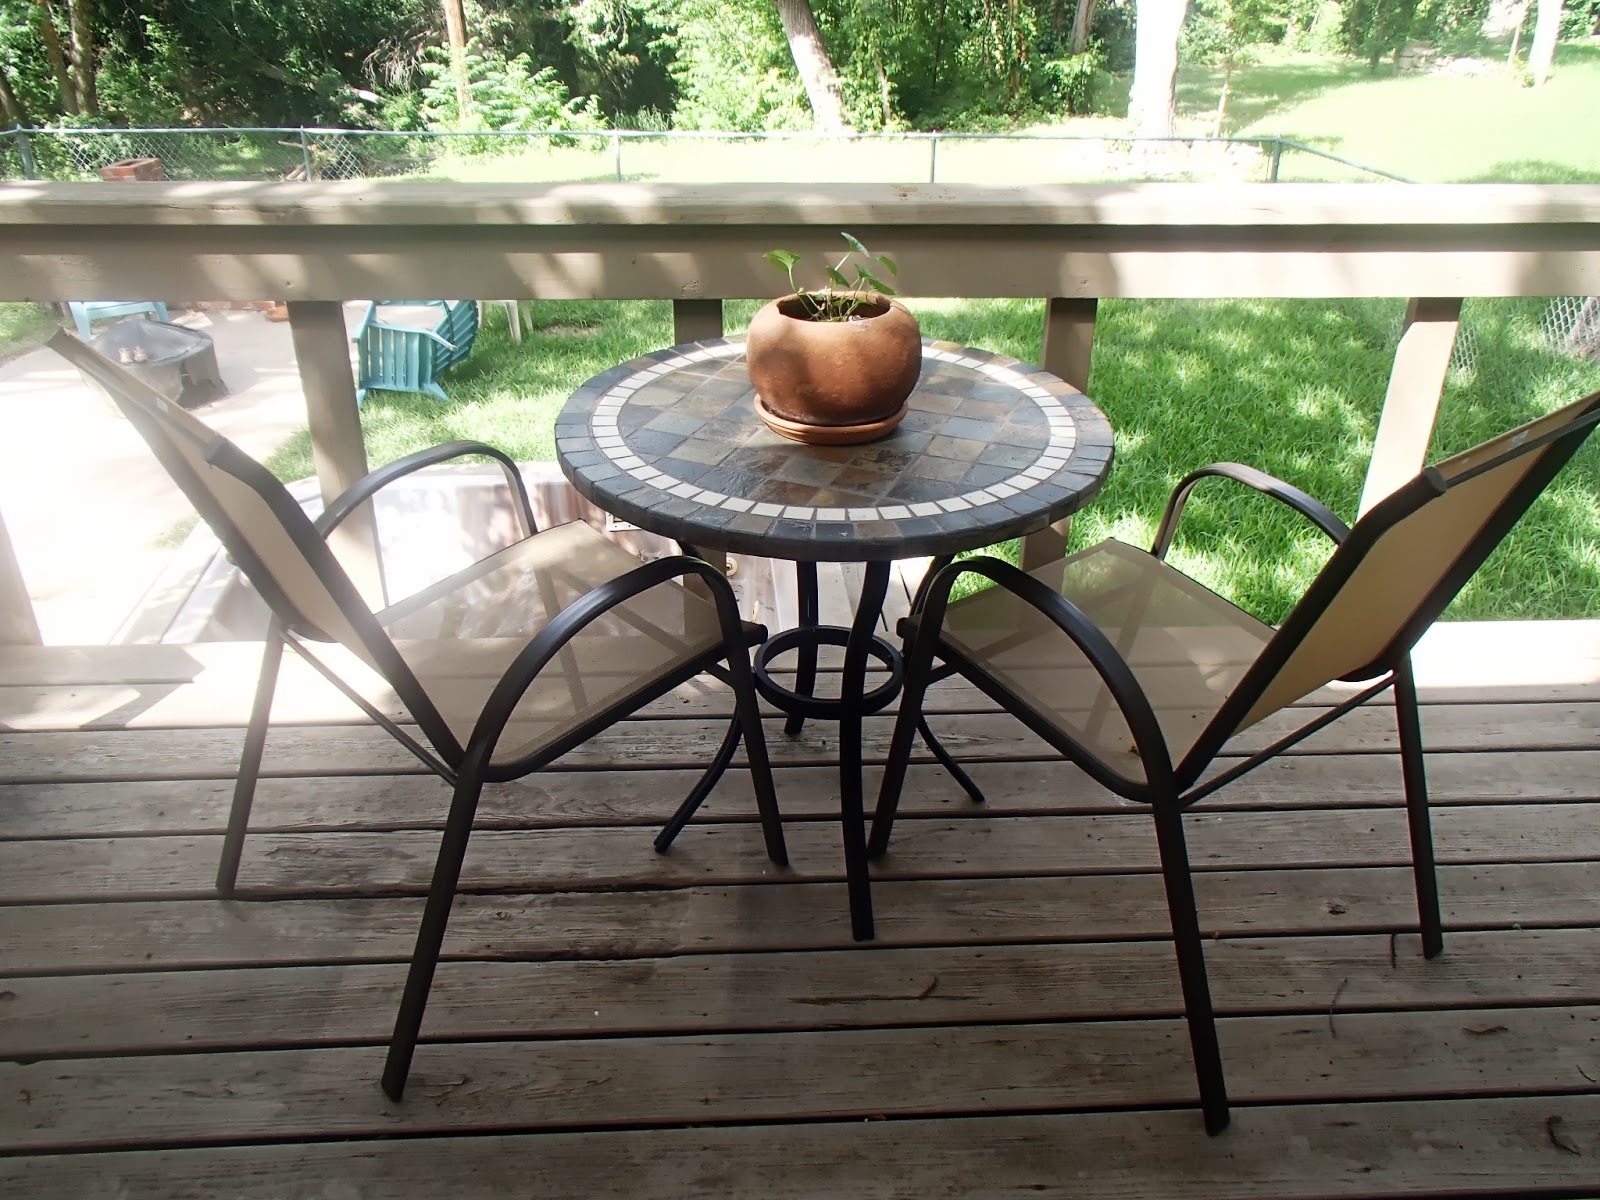
The rest of the changes this weekend were in the backyard. Home Depot was having a 20% off sale on patio furniture and since I would walk by the French doors and wish I had a place to sit to eat breakfast on the deck at least twice a week, I figured that would be a great place to start our patio furniture collection. I've already had a few breakfasts out here since we got it and I am even more in love with our backyard now. If only Nick didn't wake up at ungodly hours (I just can't force myself to get out of my supremely comfortable bed before 8am most days) we could have breakfast together every morning!

As soon as my mom and Angela got it put together, I added a plant (of course). This one is from Nick's parents, but it doesn't have distinguishing blooms so I don't really know what it is. The pot it's in was also made by Nick's dad!
Another project I've been meaning to finish for quite a while is these herb planter boxes. I nearly killed the basil by keeping it in its original tiny container for too long, so I decided it was finally time to plant the poor thing. He's paired with a cilantro, which I think we will use the heck out of for fresh salsa! The smaller planter has two kinds of mint in it, spearmint and some other kind that I forgot. No matter what kind it is, it's darn good in a mojito and that's what matters! I may end up moving these over so that we can instead put some hummingbird-friendly flowers in boxes here since it's right in front of the window, but for now I'm just trying to finish some projects :)


Tuesday, June 11, 2013

Backyard Photo Overload

I Just found this post I started and never finished a few weeks ago. Just a few backyard updates, mostly of new plants we got for spring! Mostly I thought it would be nice to have a record (more for myself than anything probably!) of what kinds of plants they are.

Some of these were about to get re-potted & some were newly potted from East Austin Succulents! Two that we had already are the Dragon Tree at the top left (IKEA!) and some kind of Echeveria from EAS last year.
Zebra Haworthia & Golden Barrel Cactus
Yellow Crown of Thorns
Elephant Plant
San Pedro Cactus
Soap Aloe
Blue Chalkstick Succulent. This guy has exploded with life since we got him and needs re-potting already!
Chalkstick again & a Bunny Ear Cactus
Tuscan Blue Rosemary that I unfortunately don't think will be happy in a hanging basket & Boston Fern
Hanging Fuchsia
Fuchsia again & my new hammock!
It's hard to not just go lay in the hammock every morning instead of going to work!
We also got a picnic table for the crawfish boil we had! I intend to possibly stain and definitely seal it.

Monday, May 13, 2013

Spring Has Sprung

What we've been up to lately...

We hung some hanging planters from the front tree, a fern and rosemary.
We got several irises from Nick's mom that we decided to plant in the front flower bed that was sad and empty.
We had to clear out a LOT of weeds & random roots that were trying to take over and the rotten wood that was the previous flower bed border.
These bushes were already on either side of the front bed, and they bloomed way back in early March, so they'll keep the front yard looking pretty when all the dead leaves are still on the ground and we're too lazy to rake them up.
Iris-planting time!
They will be so lovely when they've filled out a bit!
We were intending to tear down this brick grill but I always liked something about it. I decided it would be awesome to fill it with dirt and use it as a flower planter! For now we just have some potted plants (mostly succulents; they are so hard to kill!) sitting on the rusty old grill grate, but sooner or later we will fill 'er up. Until then I quite like it as a plant stand!
On the opposite side of the grill there was already some pretty ivy growing so we thought we'd keep it going and plant some Tuscan Blue Rosemary there. Once he becomes a big fluffy bush he will smell wonderful and some people seem to think it helps keep away mosquitoes, so win-win I think!
A few more chairs and some tables for drinks and we'll be set.
The neighbor's roses are spilling over the fence and it's awesome.
See?
Finally, I leave you with a stunning visualization of how the front of the house might look in a few years. At some point we will add shutters, and they may or may not be yellow, but they will be adorable, not to mention help to cover up the data cables that run on the outside of the house... The front of the house already looks so much better after replacing the wonky poo-brown gutters with these awesome seamless ones in "Linen" which is basically just ivory. I know my Paint skills are probably impressing you to no end.


Tuesday, April 2, 2013

Curb Appeal

I never actually looked at our curbs until after we moved in. I didn't notice them even a little until someone pointed them out to me. As soon as I realized the burnt orange horror that was on our curb I knew I had to take action. I took some pictures along the way so maybe I can help someone else with an icky longhorn (or any unwanted mascot image) dilemma in the future.

0. Rue the day the previous owners made this terrible decision.
1. Tape off the border in the size you want the background to be.
2. Paint the curb! I used a tiny bit of a quart of RustOleum Protective Enamel, an oil-based paint, in Matte Black.
3. While the background color is drying, print out your numbers/symbols (Google image search is your friend here--just search for "stencil numbers") in the size you want and cut them out with an X-Acto knife. I did this on a cardboard box so I wouldn't ruin my surface. You won't need to press very hard to get a clean cut anyway. 
4. After your base coat is fully dry, spray the back of your first stencil with a craft spray adhesive. I used 3M General Purpose 45 and let it dry for 60 seconds (I read the directions, yay!) before sticking it to anything so it would be tacky but not super sticky. Tape your first stencil onto the base coat in the position you want and tape a few more sheets of paper around it to make sure you don't over-spray around the stencil border.
5. Paint! I just used your basic RustOleum Protective Enamel Spray in Regal Red Gloss for this step, which is the same as what I used for the base but in spray form, which is much easier for this kind of stenciling. Normally I would go with a flat finish for this project, but I had the glossy version already, so it would have been silly to buy another can just for a different finish. The gloss gives the doubleT more panache anyway. After spraying a few light coats a few minutes apart, carefully remove your stencil while the paint is still wet. You can see in this picture that I didn't tape my borders down sufficiently so I got over-spray. It was easy to fix, but this is why I mentioned it!
6. If you are using a different color for another part of the number, like I did with my Flat White for the numbers,  then repeat steps 4 & 5 for the next stencil color after the first color is dry-ish. About 2 hours was good enough for me.
TA-DA!
I intended to do another double-T on the right side, but I thought it might have been overkill. I still might. We'll see how spirited I'm feeling come football season.

Saturday, February 16, 2013

Grills & Lanterns

Now that we're back from skiing (and snowboarding!) we are slowly but surely getting back into the swing of things. Unlike the title proclaims, there is really only one of each thing, but Grill & Lantern sounds like a weird camping magazine. More is coming soon on the crazy changes that have been happening outside!

1. We got the grill put together finally (!) and Nick has been a grilling machine ever since. We've gone through an entire propane tank in the couple of weeks since we've been back. Right now it's just hanging out on the deck right outside of the kitchen French doors, and once it gets closer to summer we'll definitely be looking into a patio set for this area as well, an awning for above it (for rainy-day grilling), and some lounge chairs for the lower deck that surrounds the pool.


2. We replaced the spider-lamp in the mud room with a shiny new motion-activated lantern!  Right now we just have a regular CFL, but we'll probably get a prettier one for in here soon. Now that we've changed the lamp, there's this ugly blob of blue from the last paint job, so I'll be much more motivated to paint in here! Approximately 5,000,000,000 spiders exploded from out of the lamp when Nick took it down I think. The color I've picked (that Nick isn't totally sold on yet) is Sherwin Williams Heartthrob. The trim will be bright white, and I think it will be a great first impression of the house! The door will be much prettier without that dull brown framing it!


We also have some plans to replace the glass bricks (what is it with the glass bricks???) with some more modern decorative screens or something similar. We also have stolen an idea from another house that has HUGE house numbers etched sideways filling the entire glass door, which we both love. Hopefully that will finally help people find our house more easily. Currently we have the number painted on the curb in faded UT burnt-orange (UGH) and a nice longhorn to go with it, which we really need to get covered ASAP. Luckily (maybe) there was a pipe that burst in the street that they had to dig up the pavement to fix, and they just happened to also destroy the part of the curb on the right side that had the same problem. Yay unplanned demolition! Too bad they couldn't have just destroyed both sides while they were here. Smashed curbs look way better than curbs with burnt orange paint all over them.